How to Add Products and Upload ImagesUpdated 2 years ago
This guide will show you how to add products and upload images to sell your products to the Greendropship Vendor marketplace.
Here is a step-by-step guide on how to add products and upload product images:
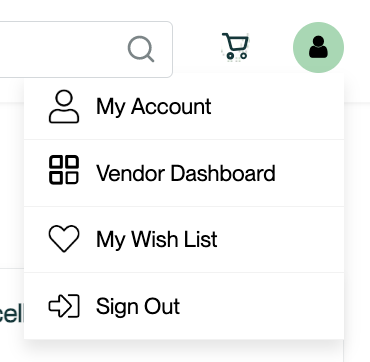
1. On the member's homepage, click the ![]() icon located in the upper right part of the page to access the Vendor Dashboard.
icon located in the upper right part of the page to access the Vendor Dashboard.
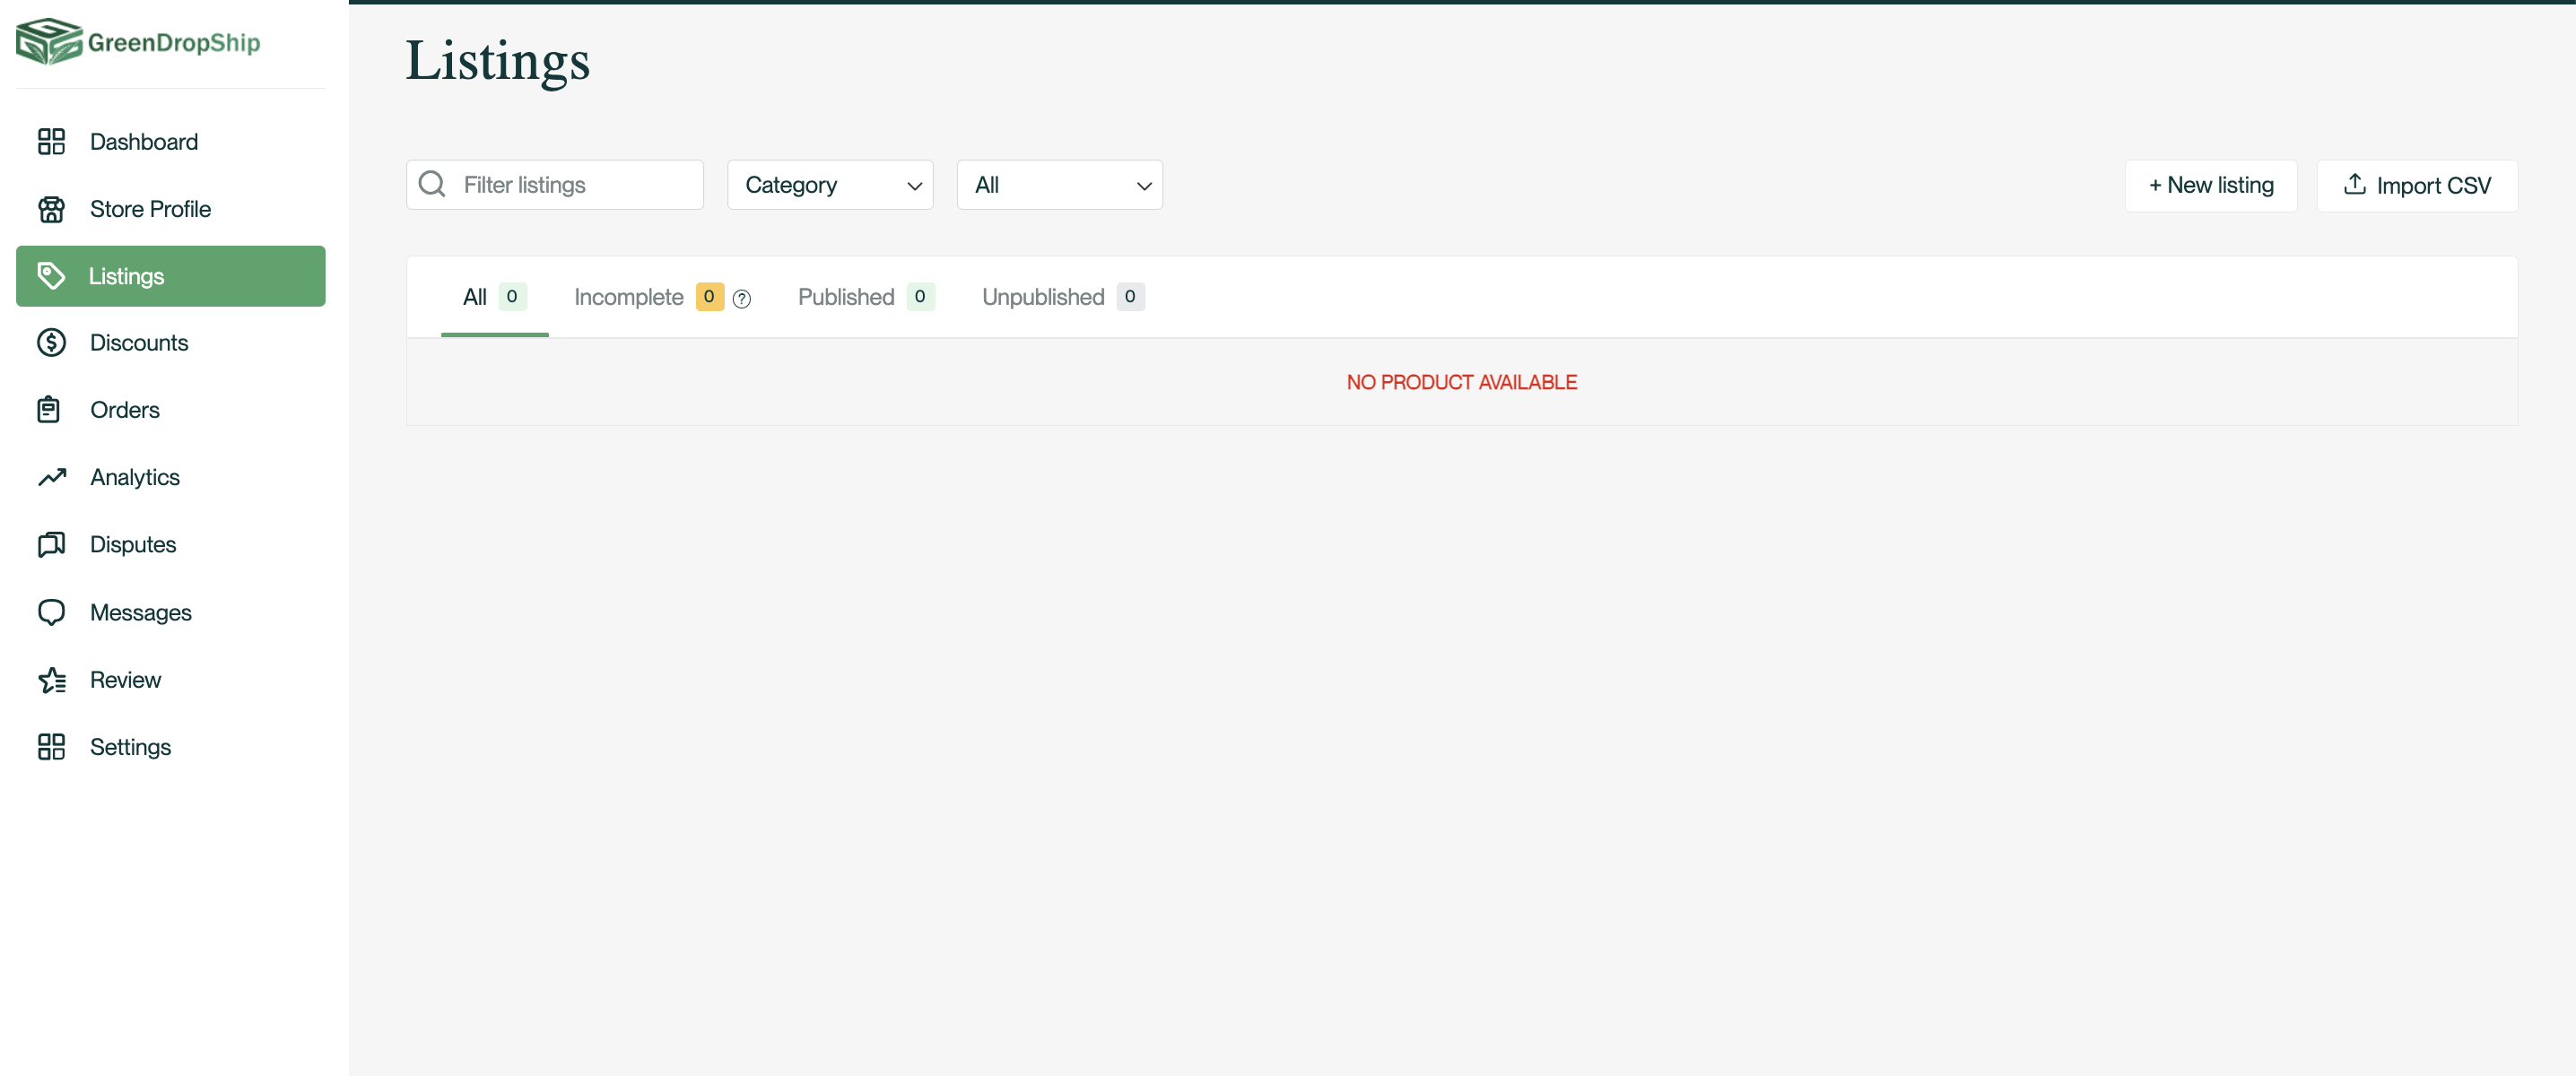
2. On the left side of the page, locate and click "Listings".
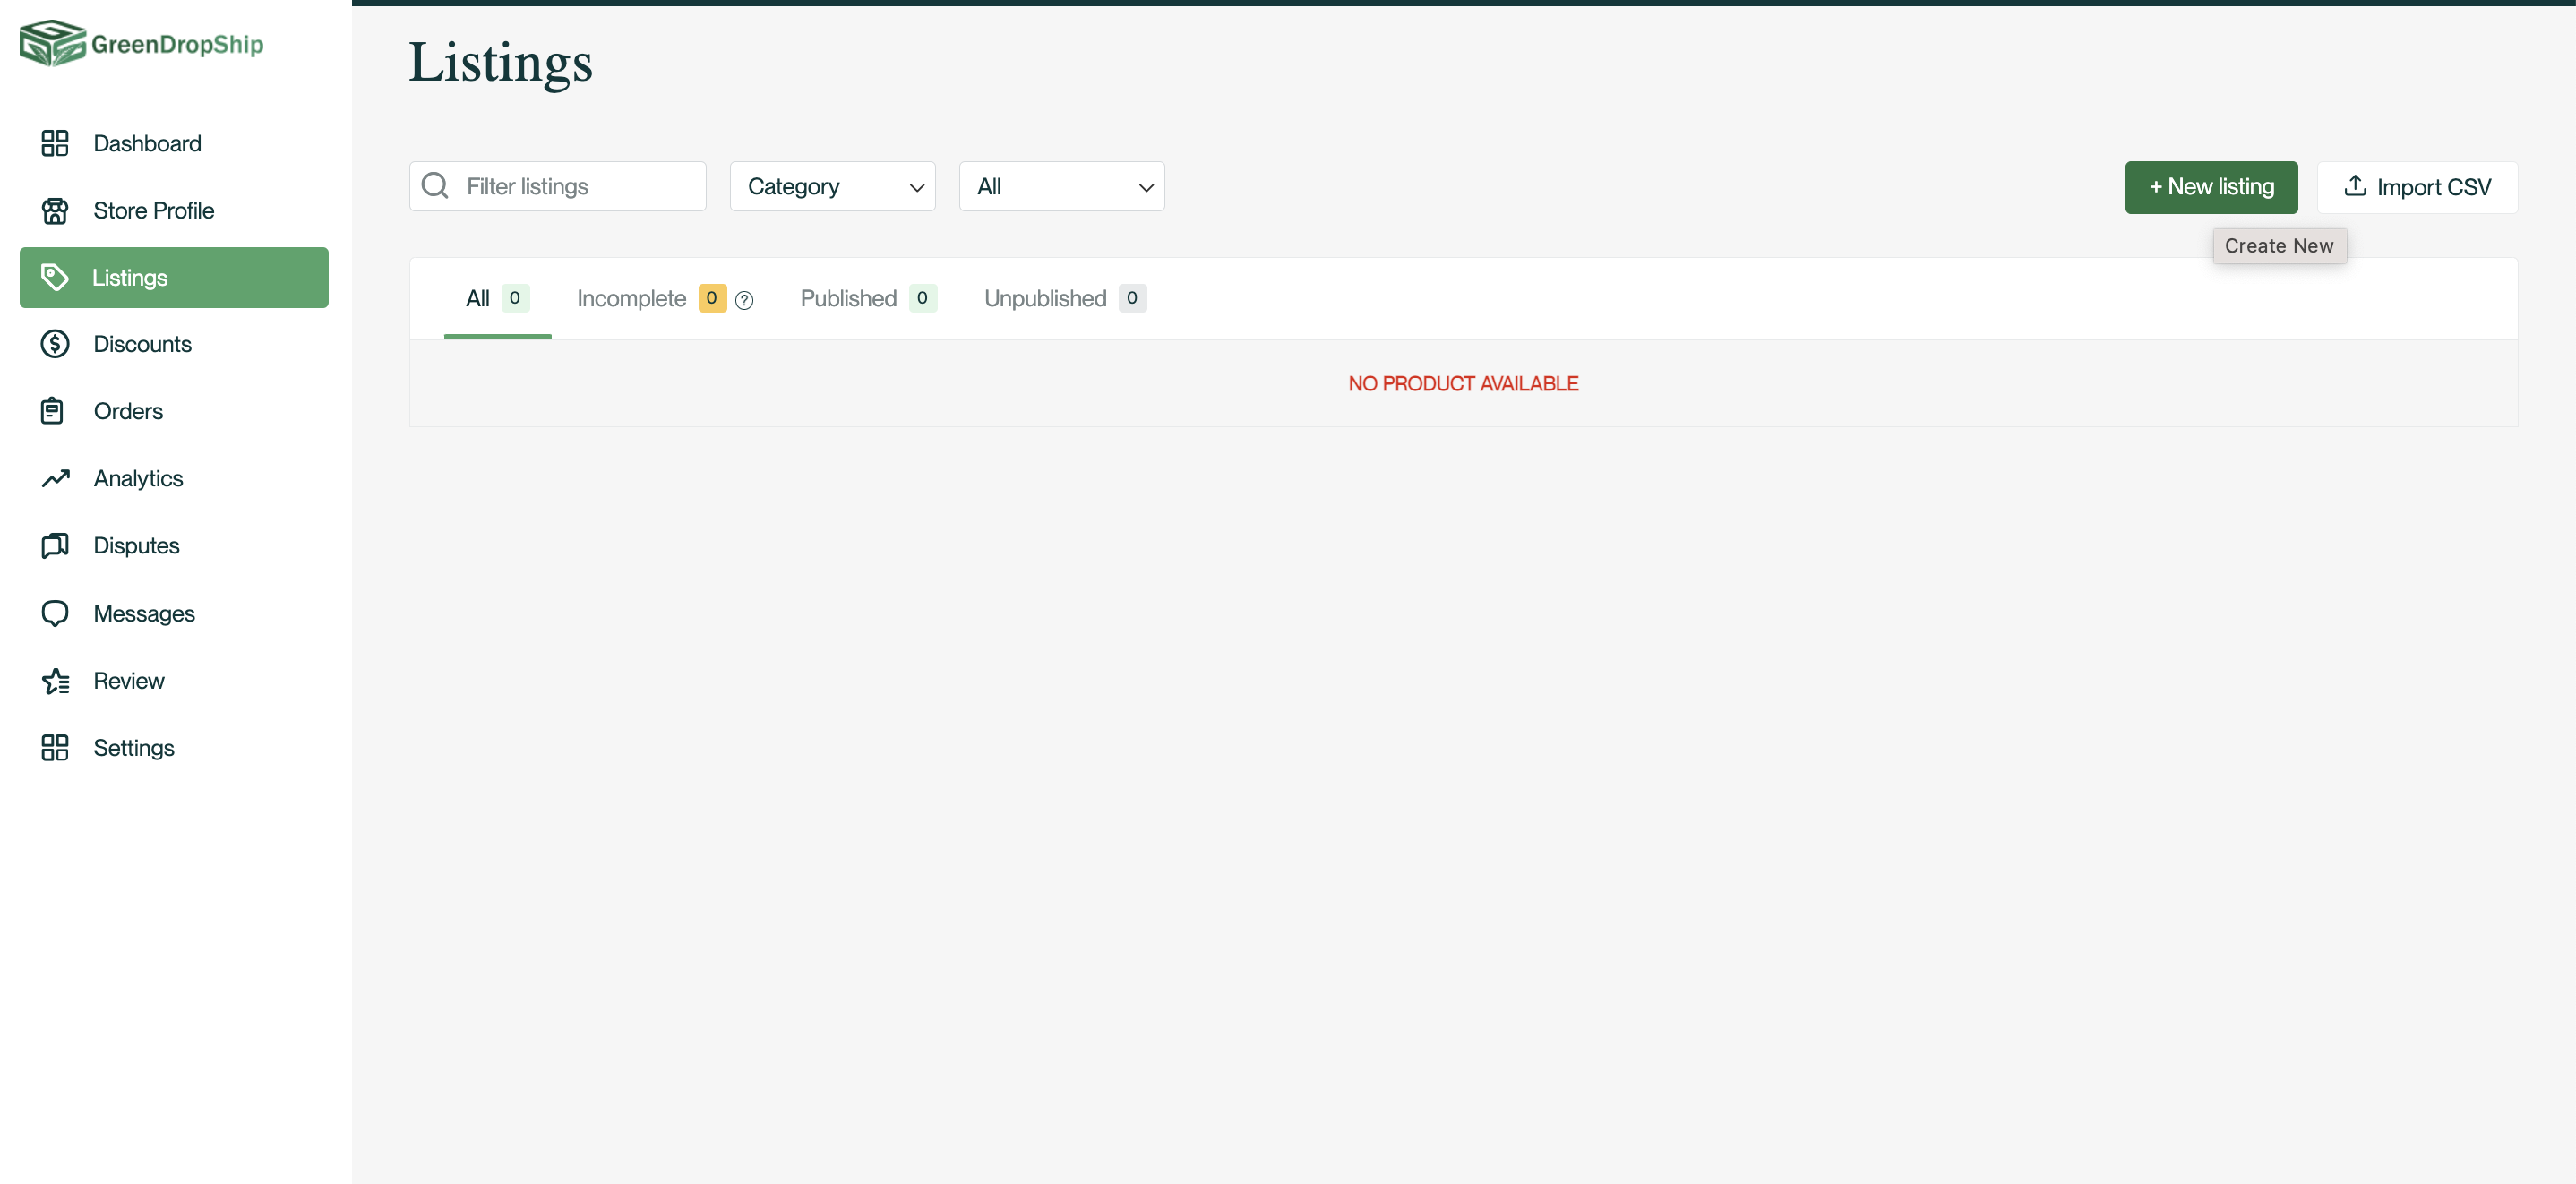
3. Click "+ New Listing" located on the upper right part of the page.
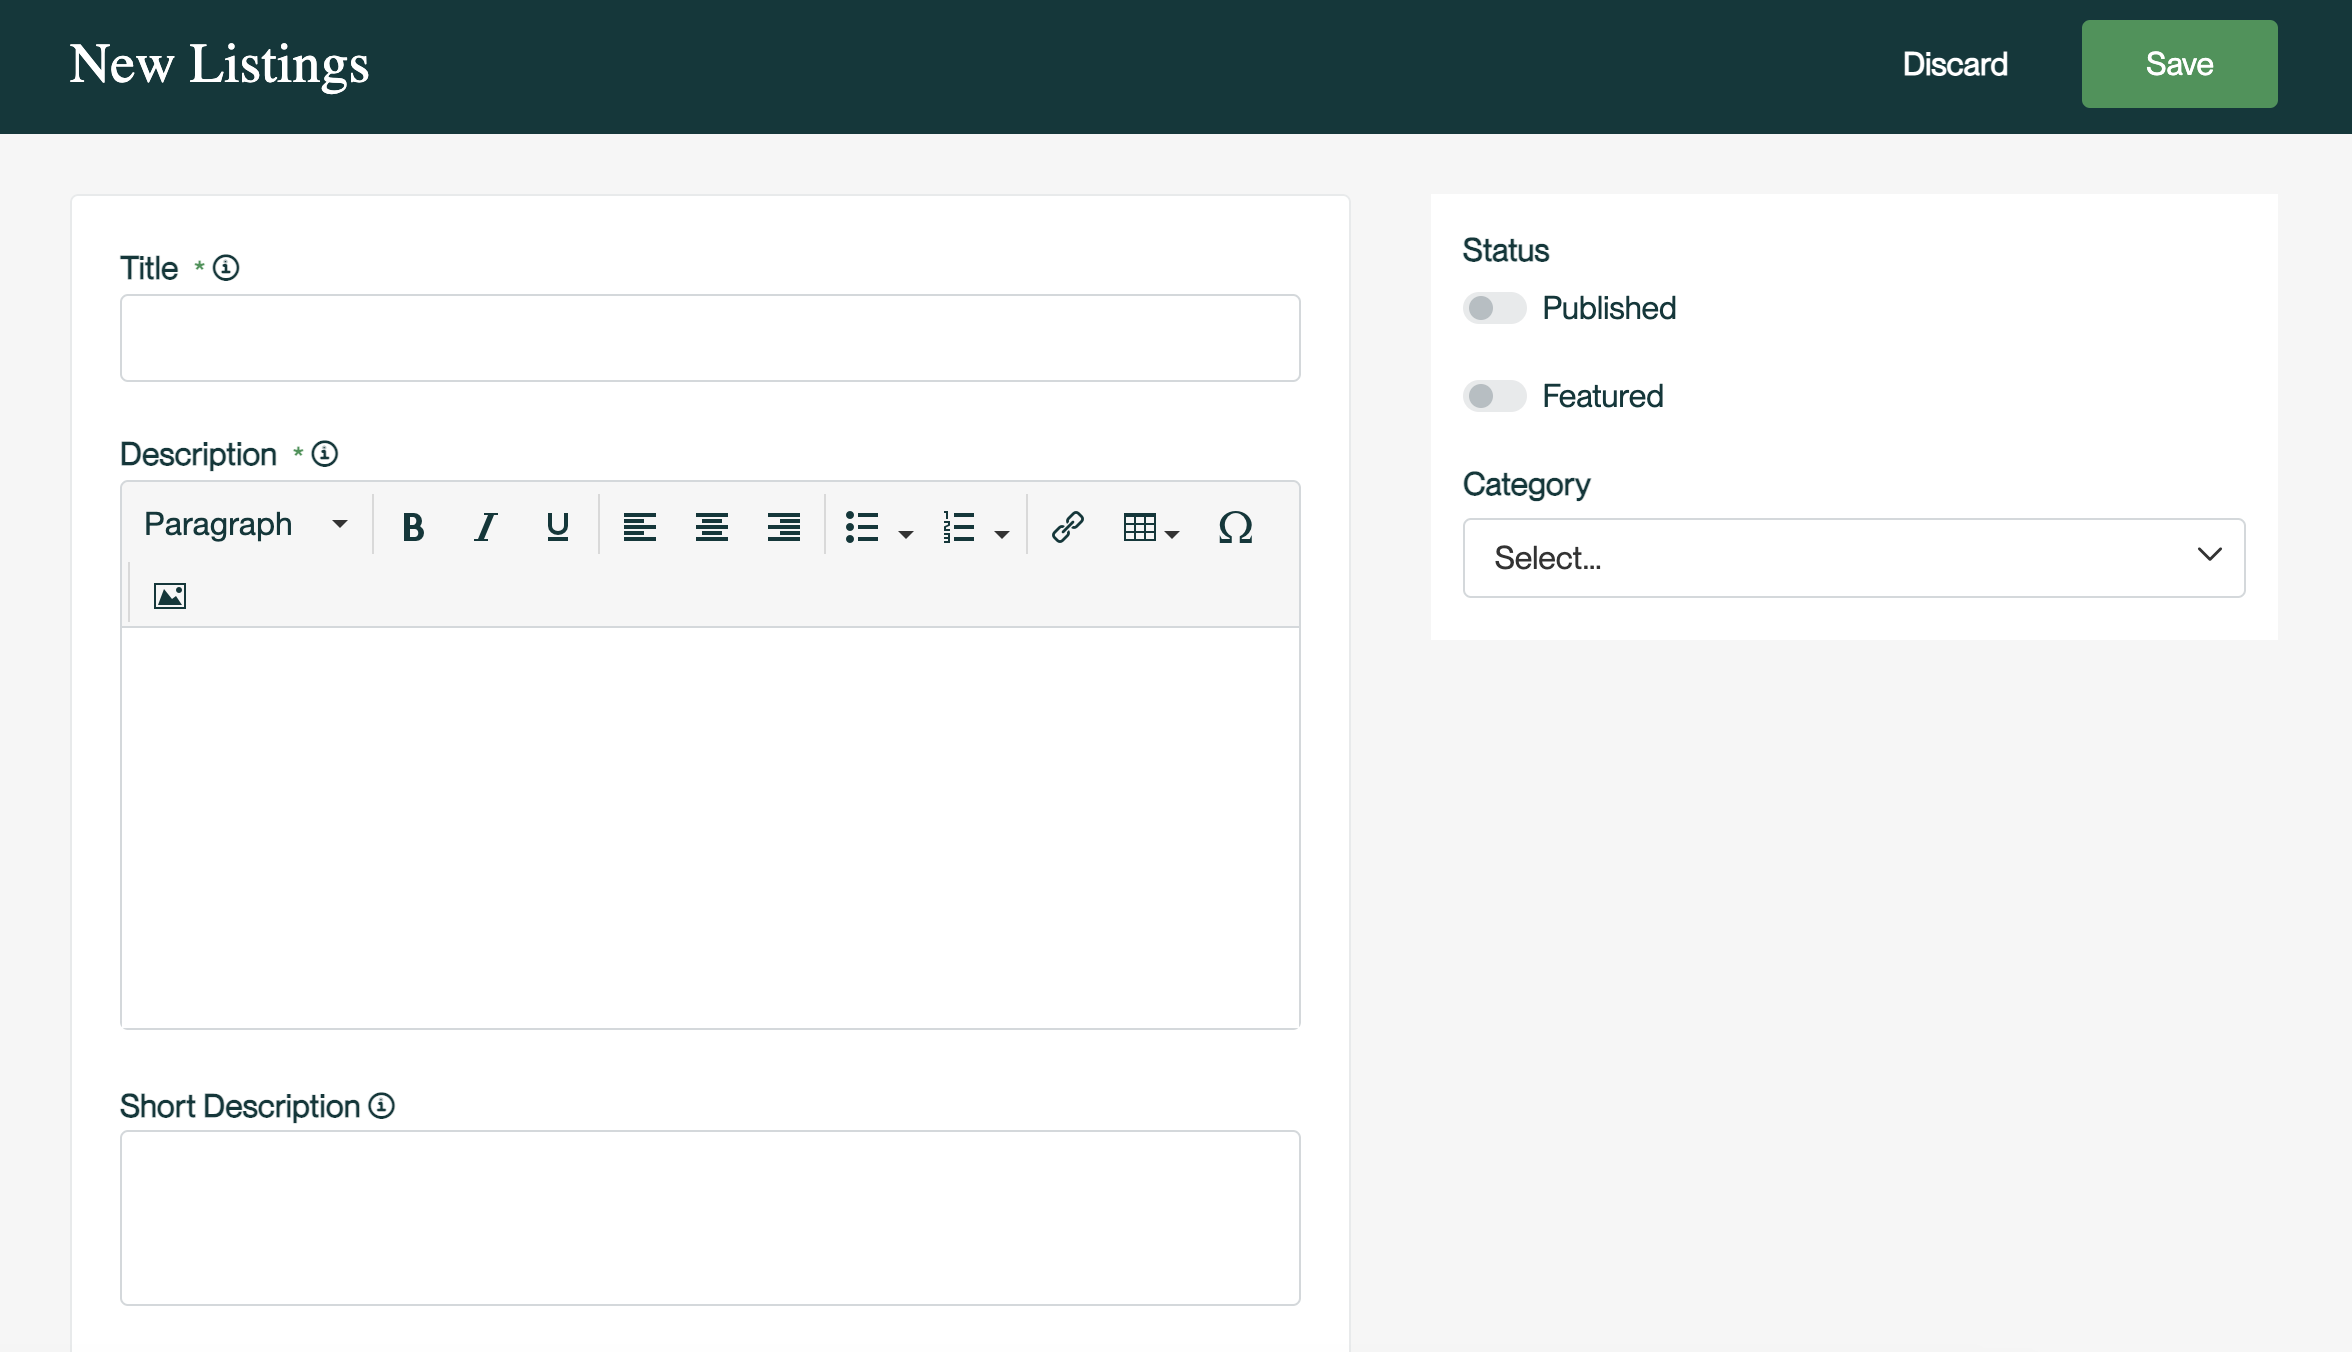
4. Fill in the necessary information in the fields provided. If you are unsure about the meaning of a certain field, click on the basic information ![]() icon to get its definition. Remember that fields marked with an asterisk (*) are required information. You can add products and product information, upload images, manage your inventory, set regular and special pricing, and manage everything else related to your product on this page.
icon to get its definition. Remember that fields marked with an asterisk (*) are required information. You can add products and product information, upload images, manage your inventory, set regular and special pricing, and manage everything else related to your product on this page.
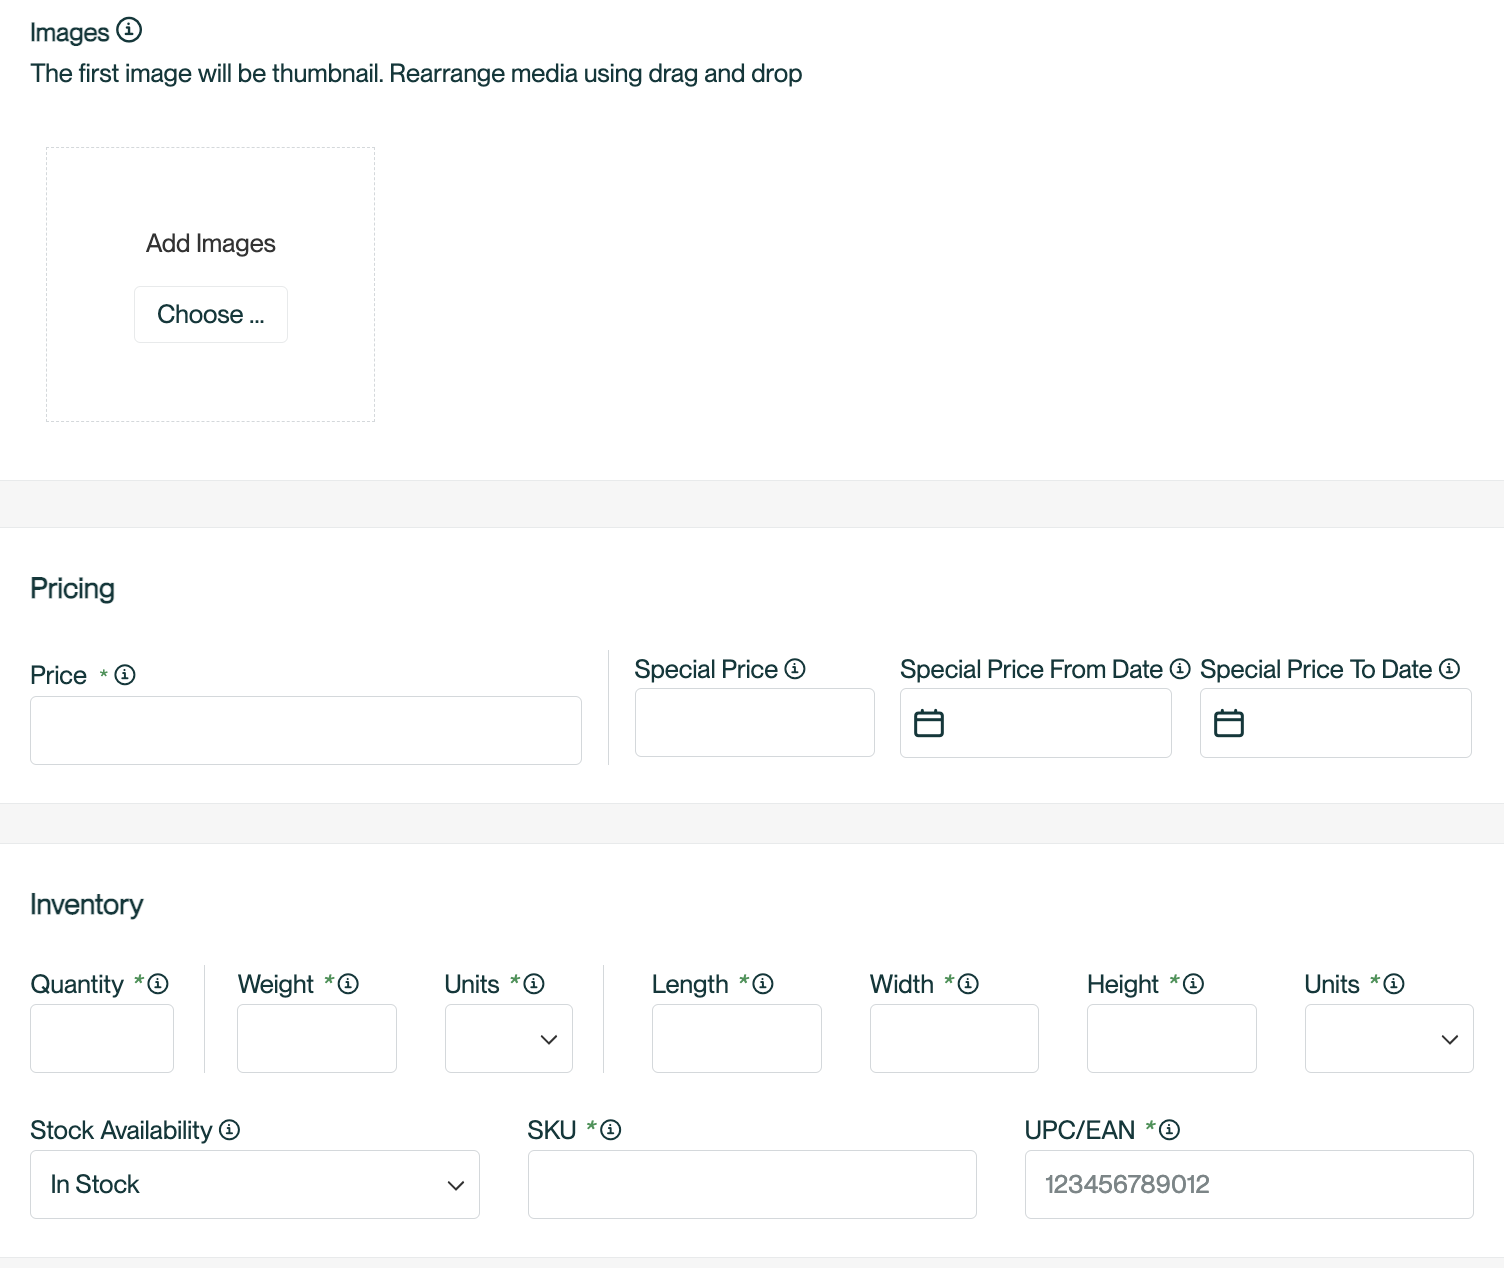
5. To add an image of your product, click "Choose" and select the file from your device. Only JPG and PNG files are supported.
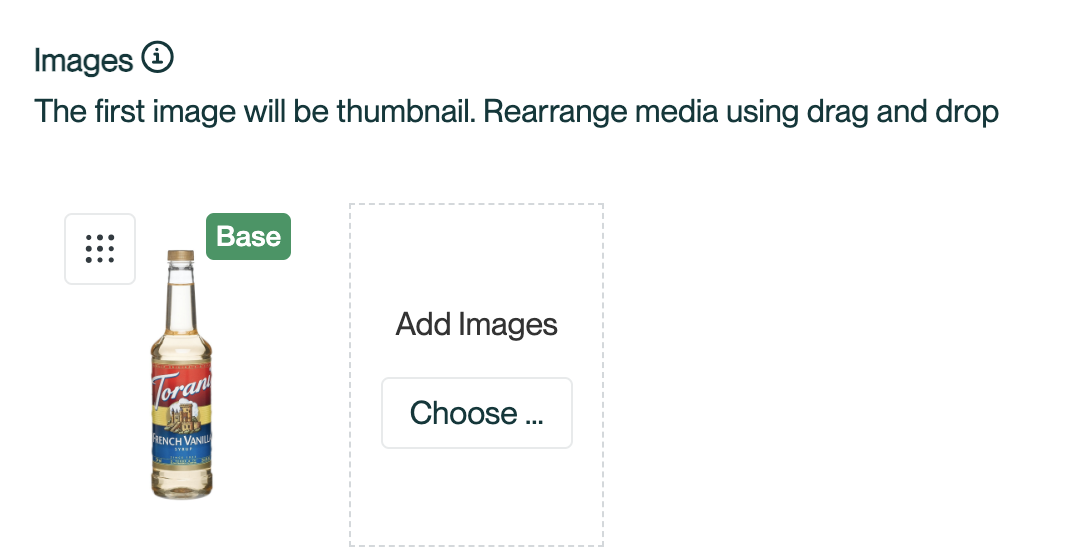
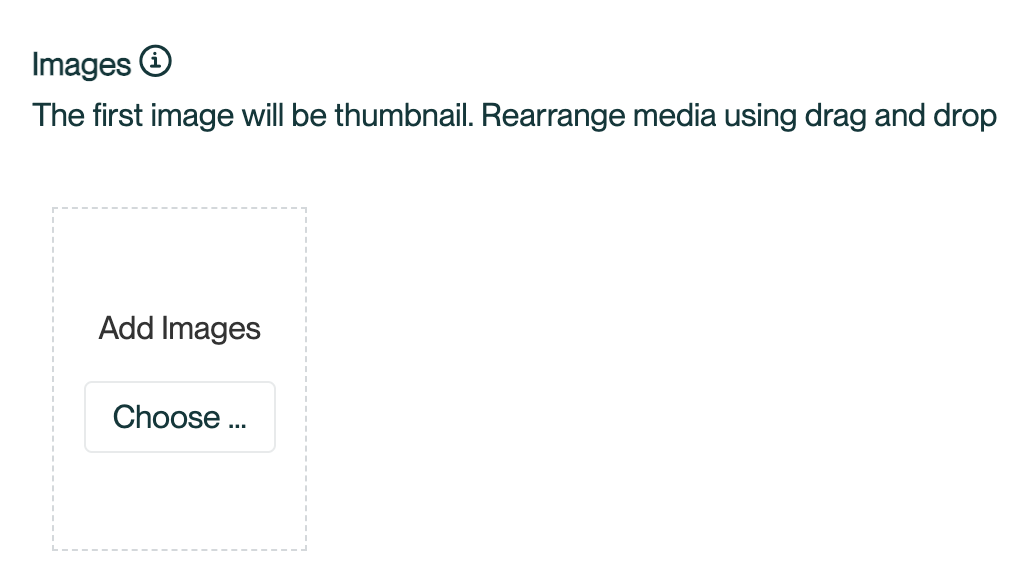 If you want to add another image, simply click "Choose" again.
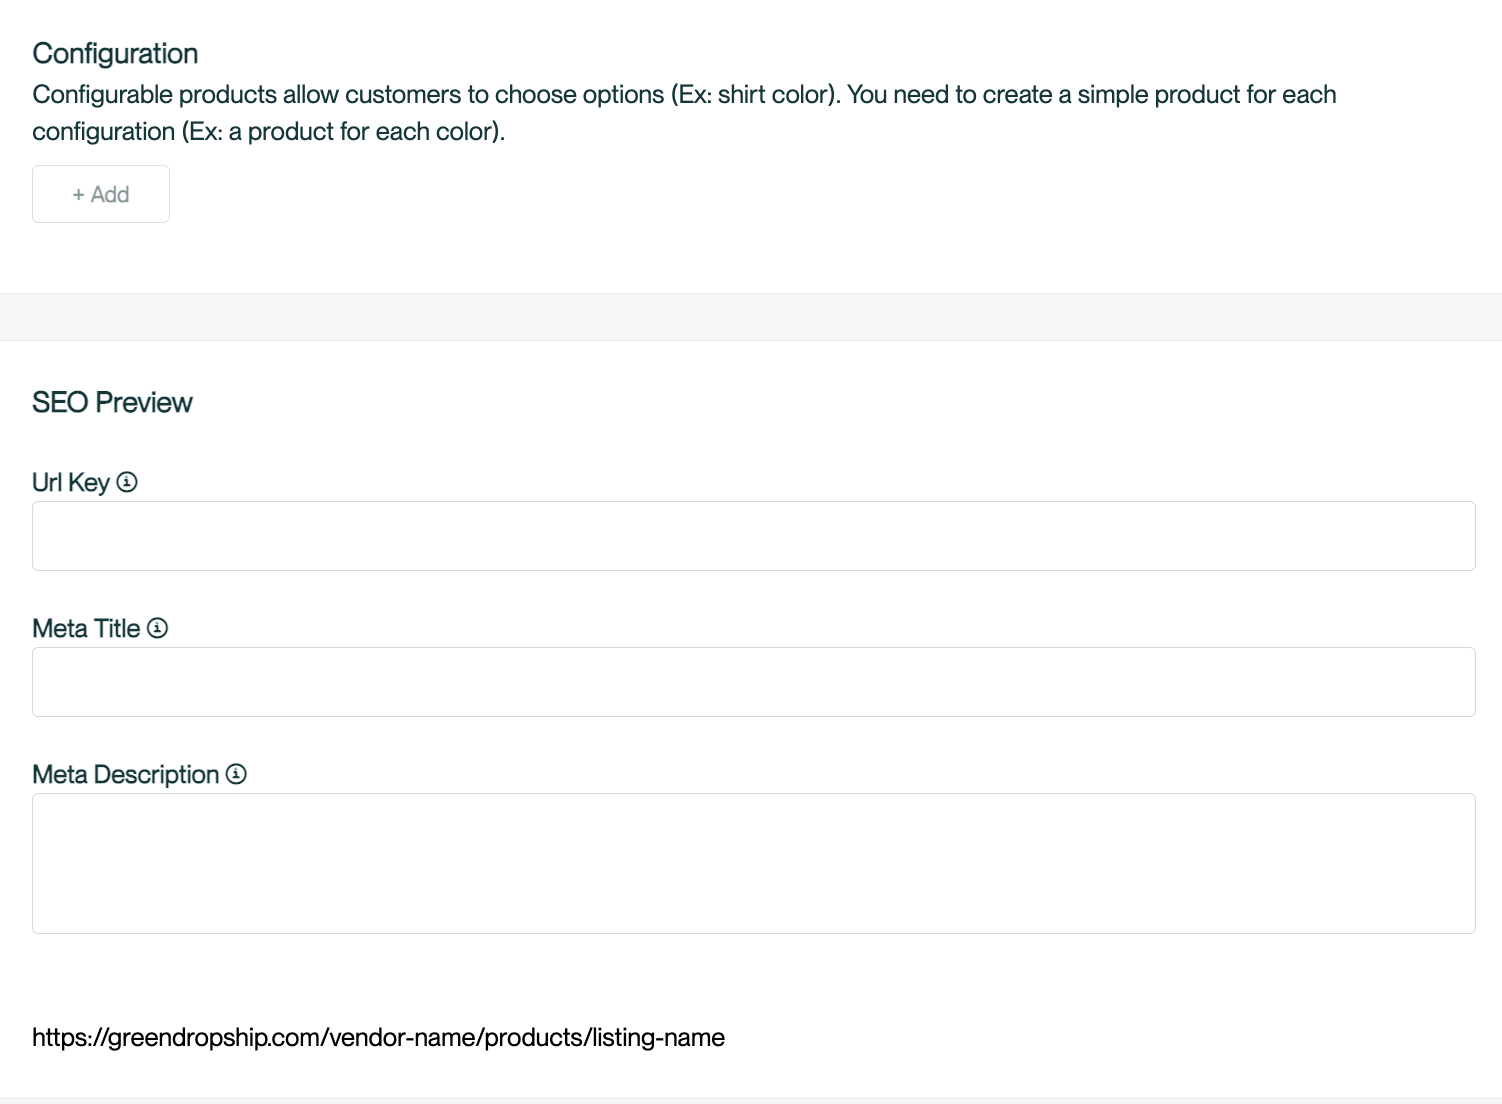
6. Continue filling in the necessary information in the fields provided. You can add product variant through configuration. If you need to add a variant, click "+ Add."
7. On the upper right part of the page, click the dropdown icon or click "Select" under Category to choose the appropriate category for your product.
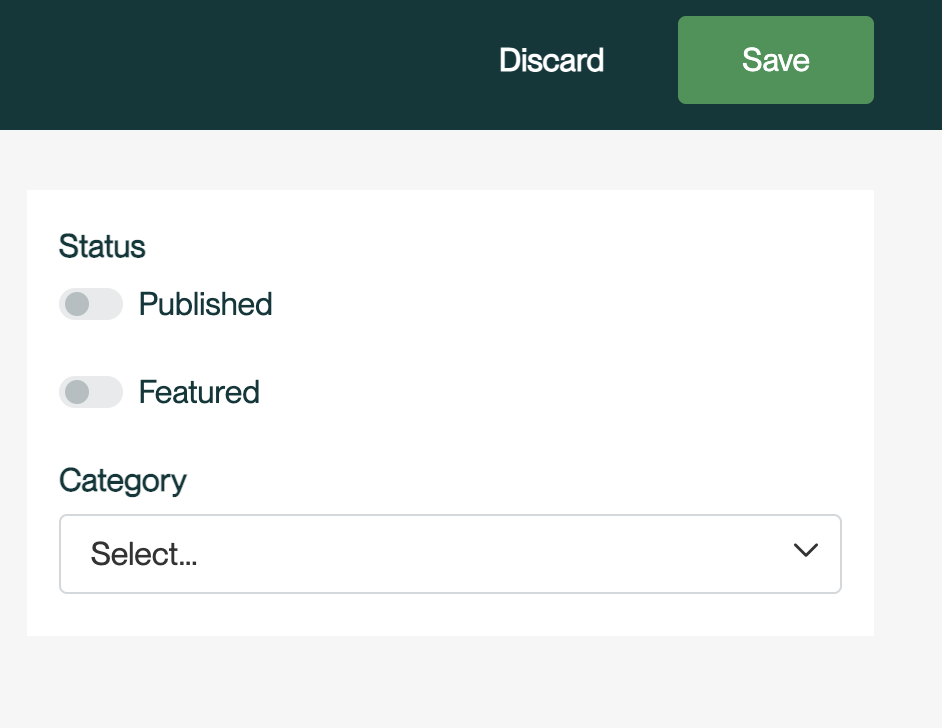
8. Once you have filled in all the necessary information and uploaded your product images, click the "Save" button located on the upper right part of the page.

Congratulations! You have successfully added a new product and uploaded product images. Make sure to double-check all the information before submitting your product listing.
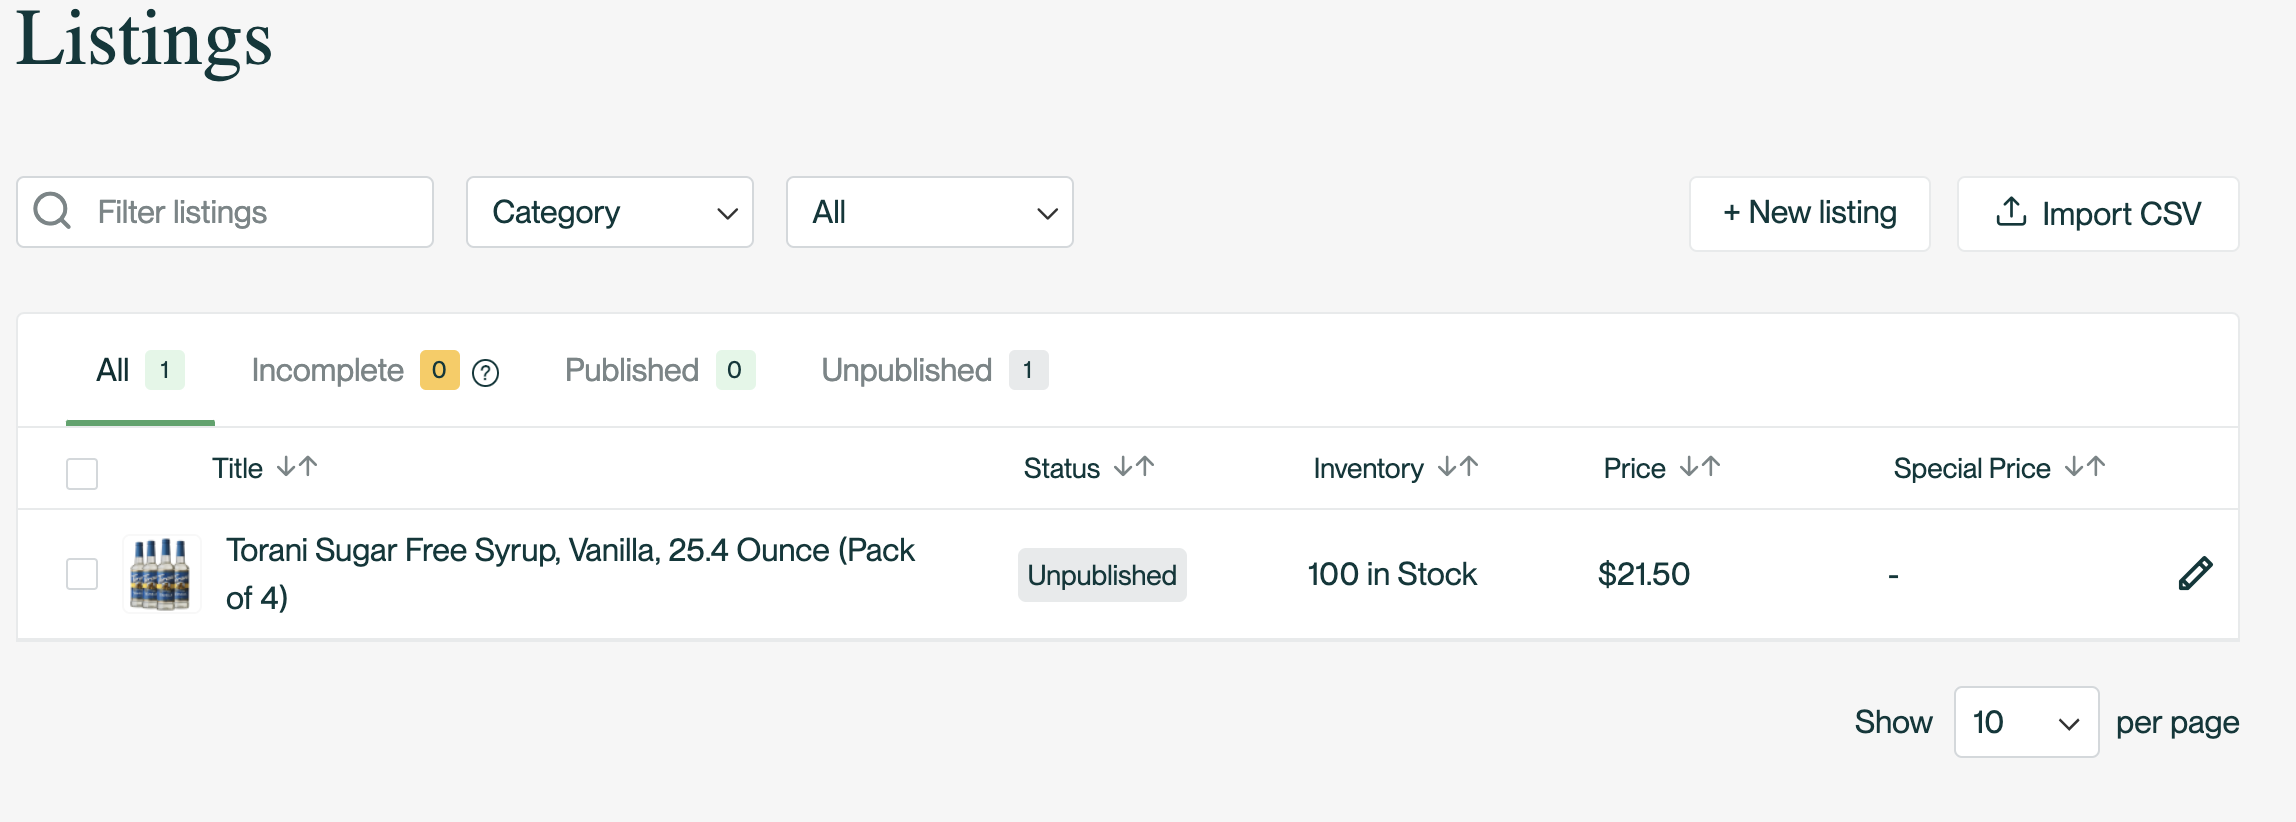
If you need help uploading products in bulk, here's a helpful guide on adding products with a CSV file. Adding products in bulk